

From Design to Delivery: How an Injection Molding Turnkey Solution Works
Let’s talk about thermoplastic injection molding — not just about the quality, or the cost value or fast turnaround.
We’d like to take a deep dive into the complete plastic injection molding process — from design all the way to packaging and shipping. Utilizing a turnkey solution ensures that the material and mold is the perfect fit for your product.
Check out the steps and illustrations below that answer the real question at hand: how does it actually work?
Step 1: Mold Design.
The mold design for any tool is essential, and it’s part of why injection molding has an up-front tooling cost. Working with designers and engineers, we develop a custom mold for the part being produced.
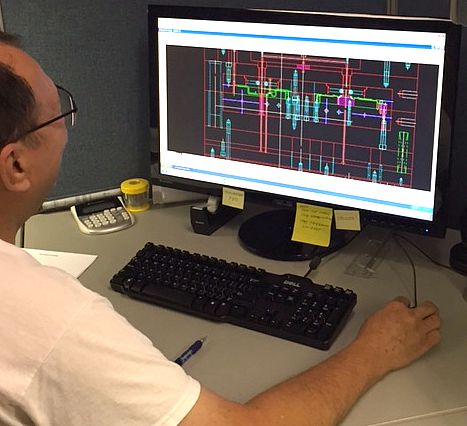
This, in combination with specialized injection molding processes, allows for a great deal of design freedom — complex shapes and unique features can be accommodated with special cores and molding systems. Overloading and insert molding can even mold one part directly onto another in a single cycle.
Step 2: Select raw materials.
We often emphasize the importance of material choice with our customers, because injection molding has a unique advantage in that it works with a wide variety of raw materials. Metals, glasses, elastomers, and confections can all undergo this process, though it’s most commonly associated with our specialty: thermoplastic and thermosetting polymers.
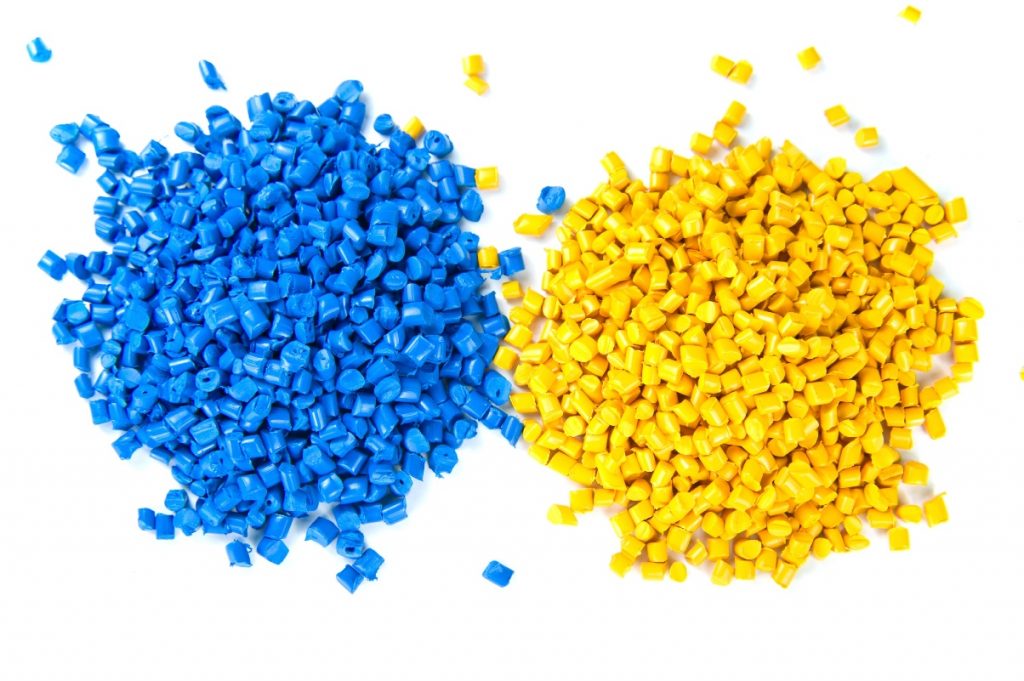
These materials begin the process in a raw, solid state, and are then heated to the desired temperature. This process melts the material so that it can be applied to the corresponding mold.
Step 3: High-pressure injection.
The now-molten material is placed under high pressure and injected in the cavity of a mold. A rotary screw mechanism dispenses a carefully engineered amount of material to minimize waste while still achieve a uniform coating.

The high pressure also ensures that material flows through the mold appropriately — without it, the liquid may not flow into every part of the cavity, which would create defects.
Step 4: Cooling.
After molding, the part must cool and cure. The dimensions of the new part actually become stable within the mold; if released prematurely, it could be exposed to inherent stresses that can cause deformation.
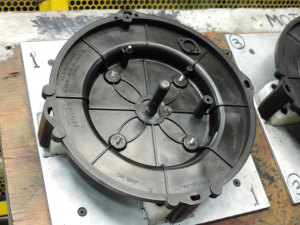
Step 5: Release.
Once the molten plastic solidifies, the mold is closed to release the product. The molds are then reseated, new material is injected, and the cycle begins again.
Step 6: Package and ship.
Full-service companies like K&B can also assist in the final packaging of your parts. K&B offers inventory management as a value-added service as part of its design-to-shipping turnkey solution.
After the design is designed and manufactured, customers can send K&B their copies of part orders, and K&B sends the product to distributors country-wide. We then notify customers when their part has shipped, and invoice the distributors for the shipping service. We can ship to you, or your distributor. We will invoice distributors for shipping service and notify you when the part(s) have been shipped.
To learn more about thermoplastic injection molding or our services at K&B Molded Products, check out our eBook: The Benefits of Using a Turnkey Manufacturer.

